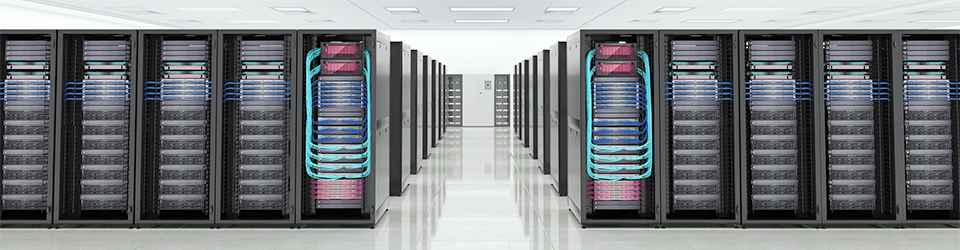
When it comes to punching down Ethernet patch panel, unlike feed through patch panel which provides patching without punching down the wires to the ports, punch down patch panel is a kind of network patch panel that should punch down Ethernet cable on the rear side. On the front plate, RJ45 ports, marked with number for easy identification, can be directly connect Ethernet copper cable. For example, simply punch down the twisted pair cabling in the back of the 24 port patch panel and you are ready to plug in RJ45 patch leads in the front.
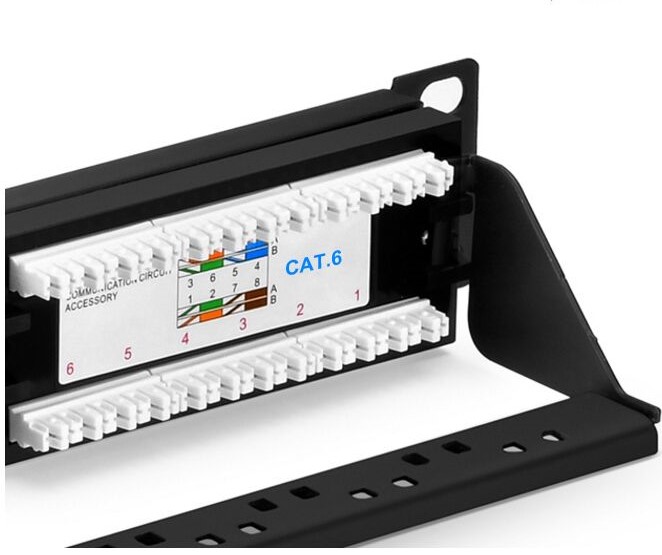
Punch down types are available in Cat6 or Cat5e patch panel. Category 6 cables have stricter standards for reducing system noise and avoid crosstalk, much better than Cat5 or Cat3, which means less network interference and better performance. Here comes the question: how to punch down Cat6 into patch panel.
After experiencing myself and watching countless videos performed by others, I summary the procedure into the brief seven steps and hope it can help you when fixing the devices.
- First, determine the length of cables you need. Do not overlook this step as it will help save materials as much as possible, though many think the cable is not expensive.
- Second, peel the outside protective jacket about 3-6 inches from the cable end with cable stripping tools.
- Third, after removing the cable jacket, you should cut off the plastic spine surrounded by pairs as close to the cables end as possible and then separate the wire pairs. Try to straighten the ends so that you can do the termination easily. Pull on the spine and fold the pairs back. Then cut the spine .
- Fourth, place the cable wires into the slot on the patch panel. Make sure when you put them in the patch panel, you put them firmly so they don’t move before you punching down. Choose a port on the patch panel to begin terminating. Usually we start with the 1st port. Then insert each wire into its own slot. Don’t leave wires exposed too much or twisted to avoid signal loss.
- Fifth, terminate the wires. Once you have all your wires in place, you have to take a punch down tool and punch down the wires into the patch panel. Push down the tool and cut the end of wire off. It is also OK to twist it off. After punching down the wire, your panel is looking nice and clean without surplus wires.
- Sixth, inspect the wire. Once you’ve finished terminating the wires, use a cable tester to check if all the wires are correctly terminated.
- Seventh, once you are done. Use a clip to prevent wires slipping out by accident.
When the punching down process is completed, you can place the patch panel into the racks with screws. However, any step being missed may result in more or less damage. Be careful and you can make a step list by yourself and mark the steps you have finished to avoid mistakes. Punch down patch panels, Cat6 cables as well as accessories appeared in the process are available in FS.COM. If you still have some difficulties after reading this article, the expertise on our website can help you install our products step by step by remote instruction online.