Is there a way to enhance your network system but also save cost, time and effort? Do you want to give up traditional model of using many fibre cables? The cost-effective way is to use the CWDM MUX/DEMUX (coarse wavelength division multiplexing multiplexer/demultiplexer). If you are the first time to use it, you are lucky to read the following content.
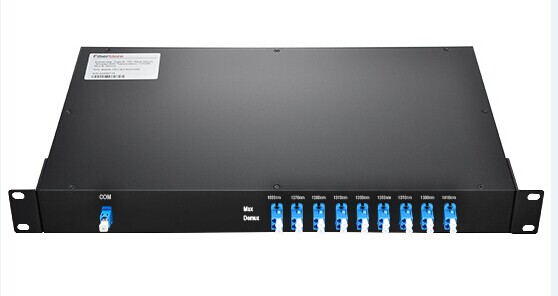
First you need to know what CWDM is. CWDM is a technology which multiplexes multiple optical signals on a single fibre by using different wavelengths of the laser light to carry different signals. CWDM MUX/DEMUX applies this principle. A CWDM MUX/DEMUX can maximize capacity and increase bandwidth over a single or dual fibre cable. It mixes the signals in different wavelengths onto a single fibre and splits it again into the original signals at the end of a link. This kind of device is used to reduce the number of required fibre cables and get other independent data links. CWDM MUX/DEMUX modules are wide from 2 channels to 18 channels in the form of 1RU 19’’ rack chassis. The following will take 9 channels 1290-1610nm single fibre CWDM Mux/Demux as an example. It’s a half 19’’/1RU module for LC/UPC connection.
- Support up to 9 data streams
- Wavelength range: 1260~1620 nm
- Low insertion loss, half 19’’/1RU module low profile modular design
- Passive, no electric power required
- Simplex LC/UPC for line port
- Duplex LC/UPC for CWDM channel port, easily support duplex patch cables between the transceiver and passive unit
- Operating temperature: 0~70℃
- Storage temperature: -40~85℃
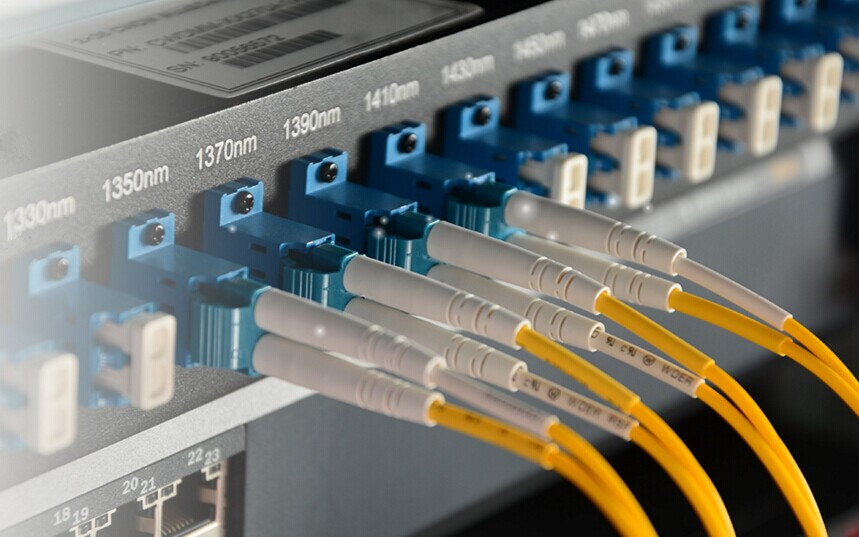
To connect the CWDM Mux/Demux, you need two strands of 9/125μm single-mode fibre cables. Supportable transceivers cover the wavelengths of 1290 nm, 1370 nm, 1410 nm, 1450 nm, 1490 nm, 1530 nm, 1570 nm 1610 nm. And this device is used together with 9 CWDM-2759-LC-LGX-SFB.

To ensure a reliable and safe long-term operation, please note the points below:
- Only use in dry and indoor environments.
- Do not locate CWDM Mux/Demux in an enclosed space without airflow since the box will generate heat.
- Do not place a power supplies directly on top of a unit.
- Do not obstruct a unit’s ventilation existing holes.
1.To install CWDM MUX/DEMUX system, switch off all devices.
2.Install CWDM transceivers. Remember each channel has a unique transceiver with a certain wavelength. So each transceiver must be plugged into the appropriate channel and must not be used more than once in the system. Devices pairs must carry transceivers with the same wavelength.
3.Connect CWDM MUX/DEMUX units with matching cables (single-mode fibre). Before connecting cable, you should first inspect if the connectors are lean. Never forget cleaning work is an important factor to achieve a better network performance. The guidelines:
- Keep connectors covered when not in use to prevent damage.
- Usually inspect fibre ends for signs of damage.
- Always clean and inspect fibre connectors before make a connection.
4. Power up the system.
When you connect the system, but you find there is not data link. Then you need to do:
- 1. Check the attached devices by directly connecting CWDM MUX/DEMUX units using a short fibre cable.
- 2. Check the fibre cables and fibre connectors.
- 3. Check that each wavelength doesn’t occur more than once at the CWDM MUX/DEMUX units.
- 4. Check if the transceivers are inserted into the matching port at the CWDM MUX/DEMUX units.
CWDM MUX/DEMUX is a cost-effective solution for expanding bandwidth capacity for short link communication. Besides saving costs, CWDM lasers consume less power and take up less space. FS.COM offers both CWDM MUX/DEMUX and DWDM MUX/DEMUX with high quality. If you are the first time to use these devices, keep in mind the above notes.